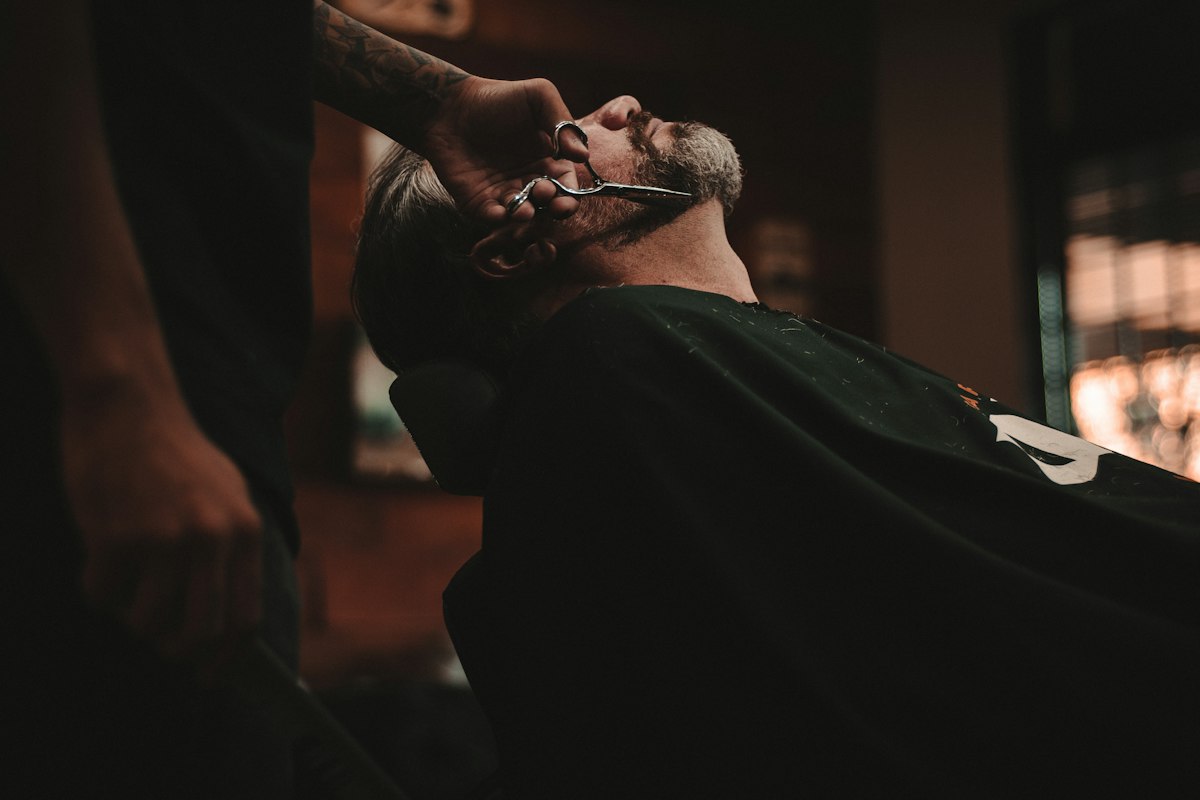
Every great haircut, no matter how modern or elaborate, is built from a small set of fundamental hair cutting techniques for beginners. Master these seven and you can construct almost any style in the book; skip them and even advanced cuts will always feel shaky underneath.
This guide walks through the seven essential techniques — what each one is, when to use it, how to execute it, the common mistakes to avoid, and a practice tip for each.
1. The One-Length Cut (Blunt Cut)
What It Is
The one-length, or blunt cut, is the foundation of all cutting: every hair cut to the same length, creating a clean, solid line at the perimeter.
When to Use It
Use it for classic bobs, blunt fringes, and any style where you want a sharp, defined edge and maximum weight at the ends.
Step by Step
- Section the hair cleanly into your working panels.
- Comb the hair down with even tension — not too tight, which stretches the hair and shortens the cut once it springs back.
- Establish your guideline at the centre back.
- Cut a straight line, then work out to both sides using the guideline.
Common Mistakes
- Uneven tension — the most common cause of an uneven line.
- Cutting without a guideline and trying to "eyeball" the length.
- Letting the hair dry out mid-cut, changing how it falls.
Practice Tip
Repeat the blunt cut on three fresh mannequin sections until your line is perfectly straight without re-checking. Boring? Yes. Essential? Absolutely.
2. Layering
Why It Matters
Layering removes length in sections to create movement, volume, and shape without losing overall length. It's the difference between a flat, heavy haircut and one that lifts and moves.
Long vs Short Layers
- Long layers add subtle movement while preserving length and weight.
- Short layers build volume at the crown and remove weight lower down — bolder, more textured.
Step by Step
- Establish your base length at the perimeter.
- Lift sections to your chosen elevation — higher elevation means shorter, more visible layers.
- Cut to your guideline, travelling up the head.
- Blend each new section into the one before it.
Practice Tip
Practise the same head with two elevations side by side — low and high — so you can see how elevation changes the result. Visual memory is everything in layering.
3. Graduation
What Graduation Is
Graduation builds weight into a haircut by stacking length progressively shorter toward the perimeter. Where layering removes weight, graduation deliberately adds it — the foundation of classic bobs and wedge cuts.
Building Weight
Graduation uses a low-to-mid elevation with an increasing length pattern, so each section is slightly longer than the one above it. The result is a weighted, angled shape.
Step by Step
- Establish a short guideline at the nape.
- Take your next section slightly longer, using the previous as a guide.
- Continue up the head, each section a touch longer than the last.
- Check the weight line sits where you want it before finishing.
Common Mistake
Inconsistent elevation — if your angle drifts as you travel up the head, the weight line becomes lumpy instead of smooth.
4. Scissor-Over-Comb
When to Use It
Scissor-over-comb removes bulk and tapers hair where clippers are too aggressive or where you need finesse — typically above the ears, at the nape, and in classic men's tapering.
Technique
- Comb the hair in the direction it grows.
- Rest your scissor flat against the spine of the comb.
- As the comb travels, let the scissor close gently to cut the hair that protrudes through the comb teeth.
- Move steadily, removing a little at a time — never dig the blade in.
Practice Tip
Start with the scissor barely closing — you can always take more. Aggressive scissor-over-comb is what creates the uneven patches beginners dread.
5. Point Cutting
Creating Texture
Point cutting softens a blunt line by cutting into the ends with the points of the scissors rather than straight across. It removes weight from the perimeter and adds a natural, lived-in finish.
Technique
- Hold the section with light tension.
- Direct the scissor points upward into the ends at a steep angle.
- Snip into — not across — the hair, cutting small notches.
- Work the section in stages, checking the softness as you go.
When to Use It
Use point cutting to finish almost any cut where a hard, blunt line feels too heavy. Avoid it where you specifically want a crisp, sharp perimeter (a classic bob, for example).
6. Clipper Over Comb
Clipper Fundamentals
Clipper-over-comb is the clipper equivalent of scissor-over-comb — it tapers and blends using the comb as the guide rather than a guard. It's essential for seamless fades and tapers.
Guard Selection
You'll often work with the clipper fully open (no guard) for skin tapering, then use guards or a shorter blade to blend up. The key is matching your comb position to the length you want to leave.
Blending
- Comb the hair out at the height you want to blend.
- Run the clipper along the comb's spine, removing the hair that protrudes.
- Work in small, repeated passes, blending each length into the next.
- Check the transition in good light — fades reveal every mistake.
Common Mistake
Trying to remove too much in a single pass, which leaves visible steps instead of a smooth gradient. Fades are built in light, repeated passes.
7. Texturizing and Thinning
Removing Bulk
Texturizing and thinning remove weight and bulk from thick hair to make it more manageable and to soften the finished shape without losing length.
Thinning Shears
Thinning shears have teeth that remove a percentage of the hair with each cut. Use them on the mid-lengths and ends — never at the root, which creates awkward regrowth lines. Work in small sections to avoid over-thinning.
Razor Texturizing
A styling razor softens and removes weight with a slicing motion, creating a more organic, diffused finish than thinning shears. It's brilliant for movement but unforgiving on beginner hands — practise on a mannequin before a real client.
Practice Tip
Always texturize less than you think you need. You can remove more; you cannot put it back. Over-texturized hair looks thin and stringy and takes months to grow out.
Conclusion
These seven techniques — the blunt cut, layering, graduation, scissor-over-comb, point cutting, clipper-over-comb, and texturizing — are the building blocks of virtually every haircut you'll ever do. Own them on a mannequin first, then on real hair, and advanced cuts stop feeling mysterious.
Learn these techniques and more with HIME — 200+ masterclasses, structured learning paths, and certificates, all in one subscription. View pricing plans →
Not ready to commit? Watch a free preview — try selected tutorials with a free account, no credit card needed. Explore the free preview →